 Proudly Canadian
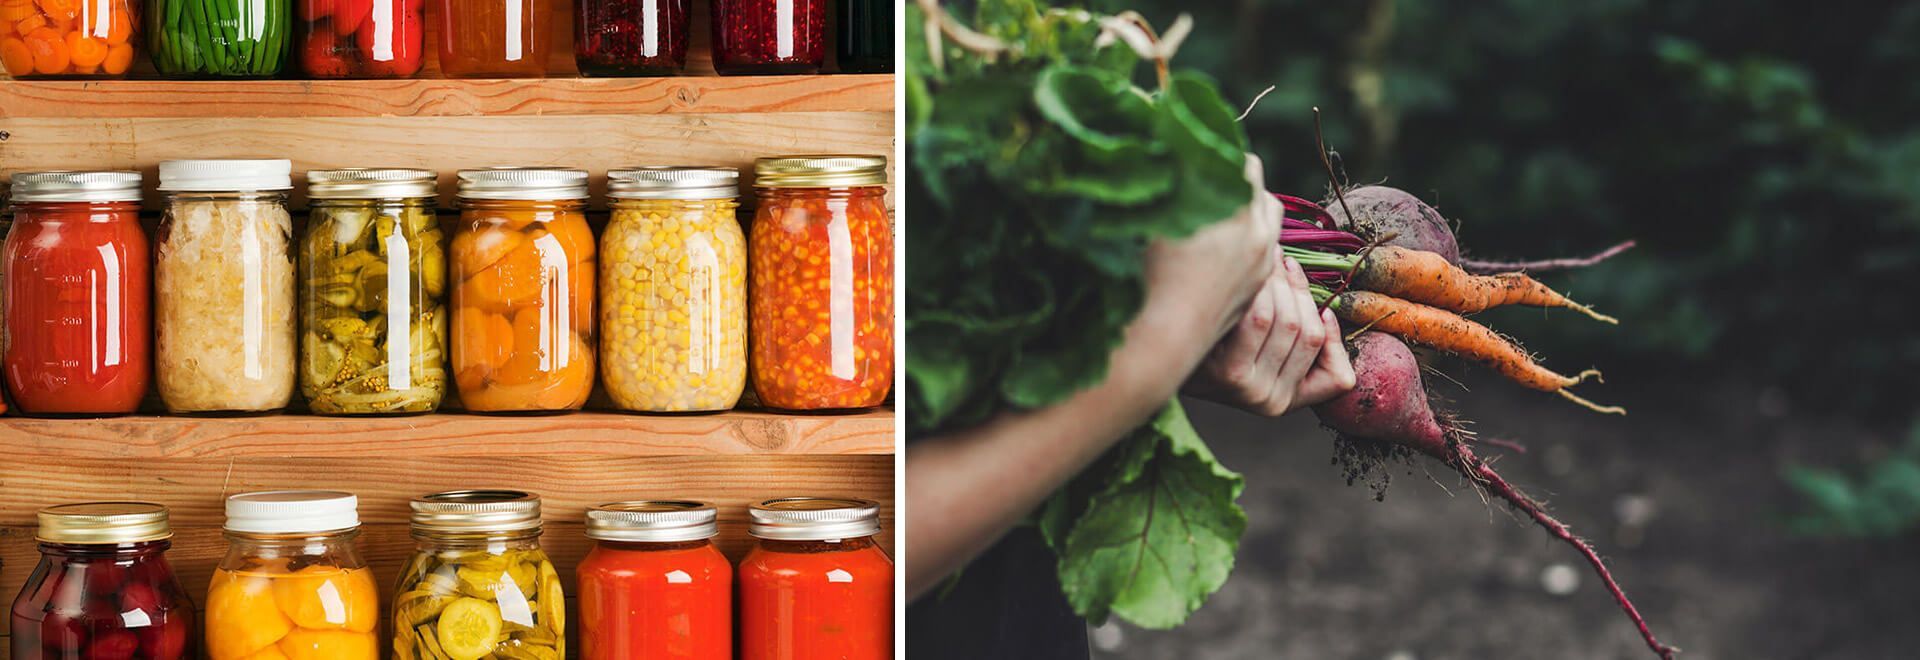
Getting Started with Canning: Where to Begin?
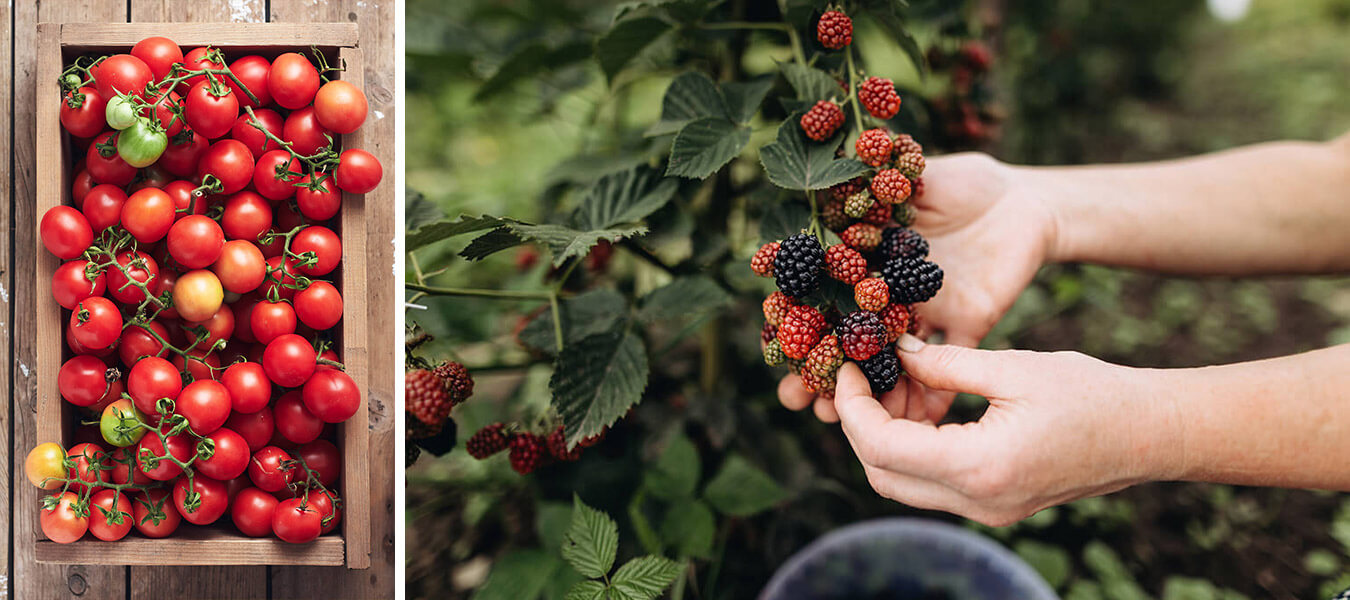
The days are getting shorter, and the end of the summer season is already at our doorstep. Have you spent the summer nurturing your garden, leading to an abundance of fruits and vegetables that you don't know what to do with? Why not dive into the autumnal pleasure of canning? Not only does it help reduce waste and your ecological footprint, but it's also an excellent way to eat local produce all year round.
At first glance, preserving food this way can be intimidating. How do you equip yourself properly? How do you determine the appropriate sterilization method? How can you ensure that the preserved food is safe and consumable? It's enough to make one's head spin. Here's some essential information to help you start canning with peace of mind.
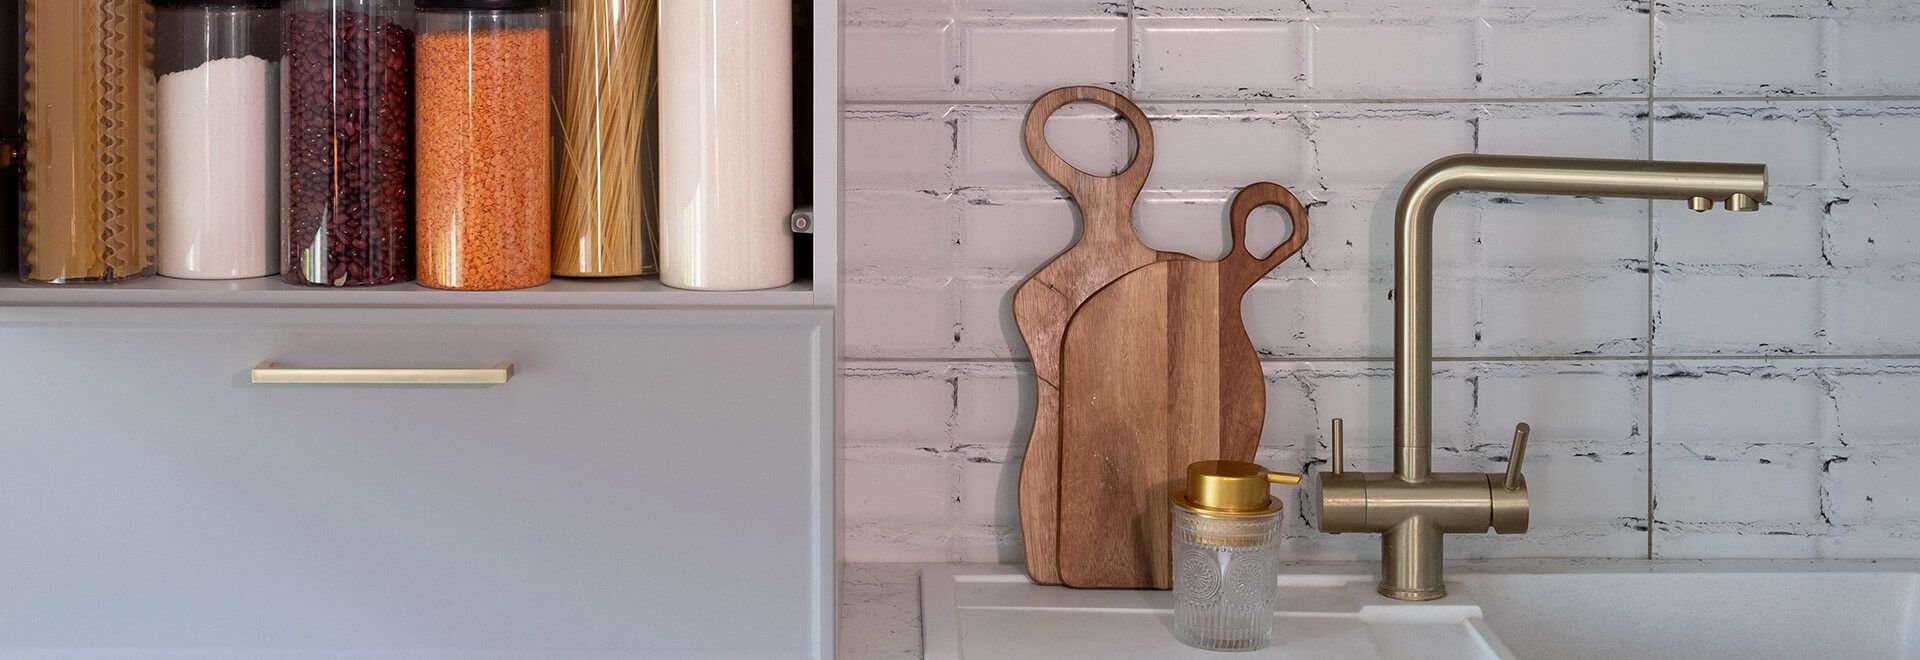
Basic Equipment
When embarking on the enriching journey of making your own preserves, having the right equipment can make all the difference. Here's what you'll need:
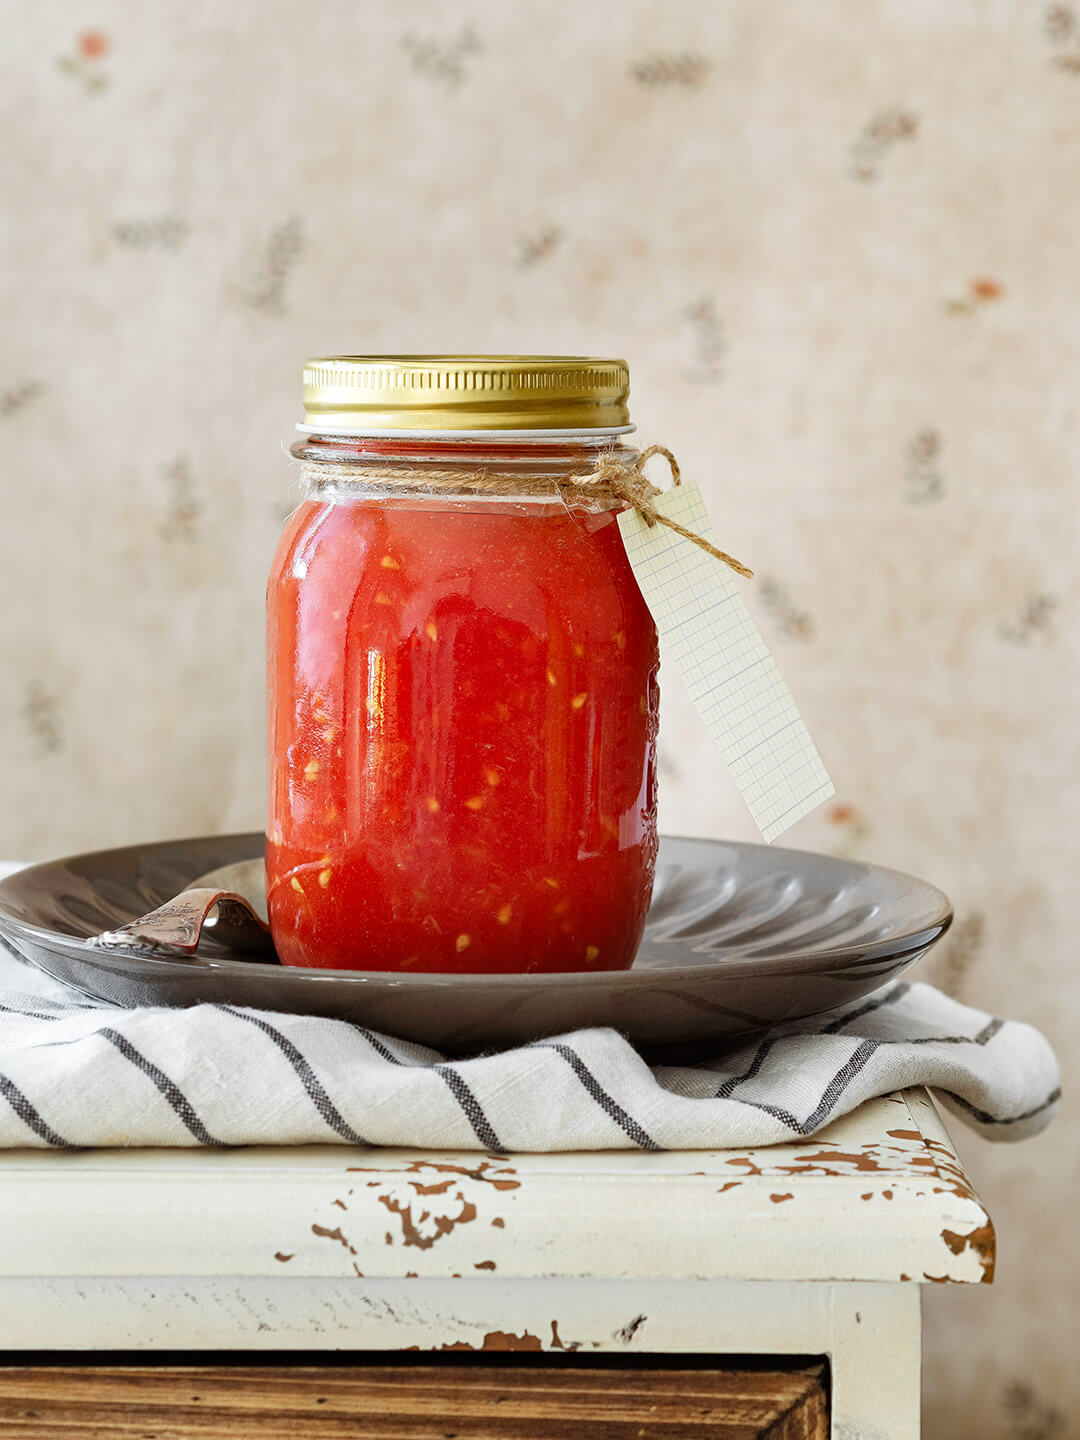
Glass Jars: Opt for glass jars specifically designed for canning. Ensure they are free from chips or cracks. They can be reused as long as they're in good condition.
Flat Lids: These lids seal the glass jars hermetically. They are one-use only, meaning you'll need to replace them each time you can food.
Metal Bands: These are reusable and hold the flat lids onto the jars during sterilization.
Wide-Mouth Funnel: A funnel makes filling jars easier without making a mess. Choose one with a wide opening to accommodate thicker preparations.
Jar Lifter: These tongs allow you to handle hot jars safely during the canning process, minimizing the risk of burns.
Magnetic Wand: After trying (and trying and trying again!) to retrieve flat lids from boiling water with tongs, you'll understand why this long, magnet-tipped rod is indispensable!
Jar Rack: This prevents jars from tipping over, clashing, or breaking during heat treatment.
Labels: It's crucial to label your jars with contents and the date of canning to keep track of what's inside.
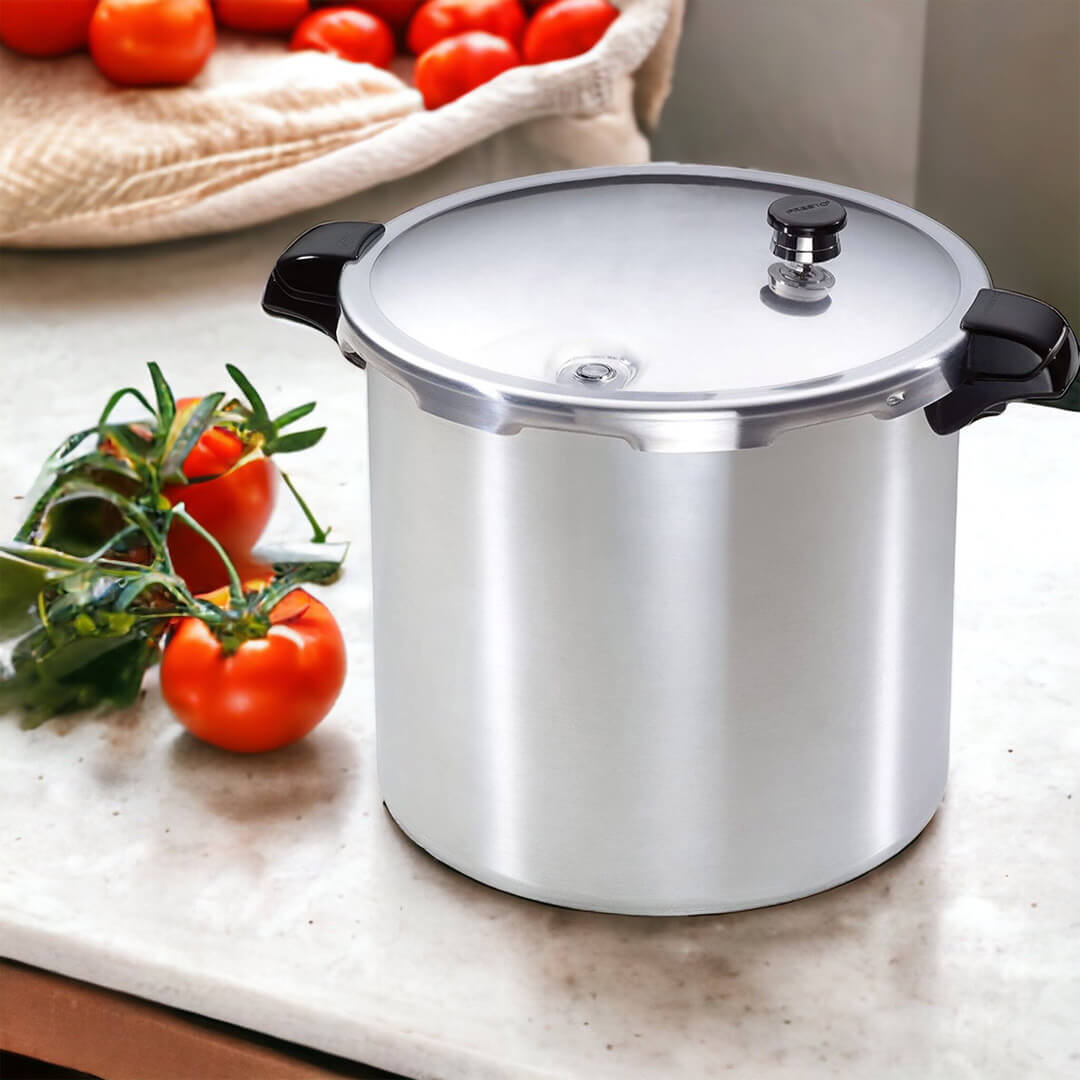
Large Pot or Pressure Canner: To sterilize your canned goods, they need to undergo heat treatment, either in boiling water (large pot) or under pressure (pressure canner). Note, these two are not interchangeable! The choice depends on the acidity of the food.
**Sterilization in the oven is discouraged by the Quebec Ministry of Agriculture, Fisheries, and Food (MAPAQ) because it weakens the jars and the food doesn't reach the necessary temperature to ensure safety. We will not cover this method, deemed unsafe.
Choosing the Sterilization Method
Why is it important to sterilize your preserves? This step is essential for food safety and extending shelf life. Sterilization kills microorganisms and prevents the growth of bacteria, yeasts, and molds that lead to food spoilage. It also allows your canned goods to be stored on shelves. Moreover, proper sterilization will destroy spores responsible for botulism (Clostridium botulinum), a potentially deadly food poisoning that is undetectable by smell or taste.
As mentioned, the choice between boiling water canning or pressure canning depends on the pH of the food you're preserving. Acidic foods, with a pH of 4.6 or lower, create an environment hostile to botulinum toxin proliferation. Lemon or vinegar-based preparations, most fruits (cherries, strawberries, peaches, blueberries, grapefruit, oranges, etc.), jams, and jellies fall into this category. These can be safely sterilized in boiling water for shelf storage.
For foods with a pH above 4.6, like vegetables (peppers, carrots, cauliflower, cucumbers, beans, corn, etc.), meats, broths, and stews, they must be processed in a pressure canner. A pressure canner is a specialized pressure cooker designed to sterilize low-acid foods by exposing them to high temperatures and pressure. The jar contents must reach at least 116°C (240°F) and a pressure of 70 kPa (10 lbs) to destroy harmful microorganisms and spores. Note: although a pressure canner is a type of pressure cooker, not all pressure cookers (like Presto) are pressure canners. Make sure the cooker you buy is specifically labeled as a pressure canner. Regular pressure cookers don't achieve the temperatures and pressure needed for safe canning.
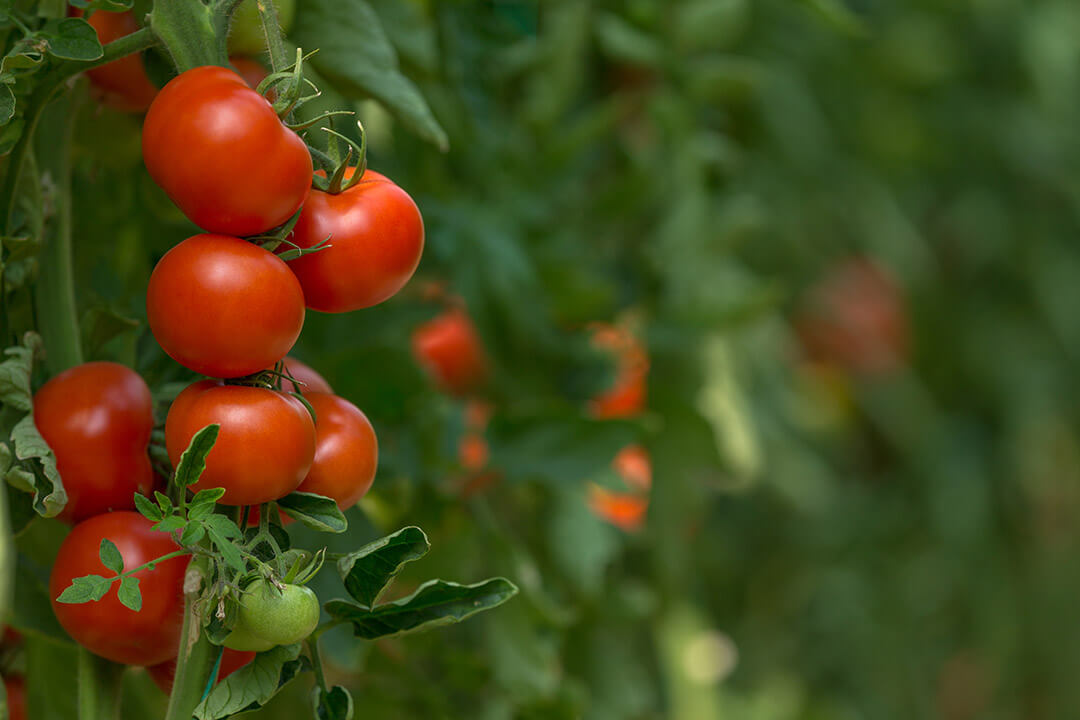
What about tomatoes? With a pH between 4.2 and 4.9, it's hard to decide on a sterilization method. Add lemon juice to acidify the preparation before boiling the jars. Does your tomato sauce contain meat? Use a pressure canner instead!
All this might seem daunting, especially concerning food safety. Therefore, we suggest starting with acidic preserves that can be processed in a boiling water bath. Don't rush out to buy a pressure canner if you've never canned before. Once you get the hang of it and feel more confident, then would be the time to expand your knowledge and invest in a pressure canner.
Canning Steps:
- Start with a Tested Recipe: Choose a recipe that has been tested for safety. Avoid improvising with recipes when you're new to canning. Ensure these recipes adhere to methods approved by the MAPAQ (since this regulation doesn't exist in Europe, you might find non-compliant recipes in European books).
- Prepare the Jars: Inspect them for cracks, wash them in hot, soapy water. Boil water in a large pot, turn off the heat, then place the jars in the hot water on a jar rack for at least 10 minutes or until you're ready to fill them. Warming the glass prevents thermal shock when filling with hot food.
- Heat the Lids: In a small saucepan, bring water to a boil, turn off the heat, and place new flat lids in it to soften the sealing compound (red band on lids). Be careful not to boil the lids, as the compound might become too soft, compromising the seal. Not all lid manufacturers recommend heating; always check the manufacturer's guidelines.
- Fill the Jars: Using jar lifters, remove jars from the pot, empty them of water, and fill with your food preparation using a ladle and funnel. Leave headspace (usually 0.75 to 1 inch, depending on the food) for expansion during sterilization. Recipes will specify the headspace.
- Remove Air Bubbles: Gently stir with a wooden, plastic, or rubber spatula to release air bubbles (metal might damage jars). Clean jar rims with a clean cloth dipped in white vinegar to remove any residue that could prevent a good seal.
- Seal the Jars: Use your magnetic wand to retrieve lids one by one, place them on the jars, and secure with the metal bands. Tighten only to the point of resistance plus 1/8 turn to allow air to escape, creating a vacuum seal. If bands are too loose, contents might leak during sterilization.
- Sterilize the Jars:
- For Acidic Foods: Place filled jars on the jar rack in a large pot, cover with at least an inch of water. Cover the pot and bring to a high boil. Follow recipe instructions for sterilization time, starting from when the water is at a full boil.
- For Low-Acid Foods: Place jars in the pressure canner, adjust water level per manufacturer's instructions, heat until steam escapes, continue heating for about 10 minutes, then close the vent to build pressure to 70 kPa (10 lbs). Once the pressure is reached, cook for the time specified by the recipe, then let the pressure drop naturally before opening.
- Cooling and Checking Seal: Use jar lifters and oven mitts to remove jars, place on a clean cloth, and let cool for 24 hours. Check the seal by pressing the center of the lid; it should be concave. If in doubt, remove the band and gently try to lift the jar by the lid; if it doesn't come off, the seal is good. Unsealed jars should be refrigerated and consumed within days.
- Label and Store: Label jars with contents and date, remove metal bands to avoid explosion risks from accidental fermentation, and store in a cool, dark place.
You should consume canned foods within one year. There, you have our canning success secrets! Don't hesitate to seek help from someone more experienced, but don't let them convince you to sterilize jars in an oven! Remember, safety comes first. In case of doubt, there are many specialized Quebec blogs (like Vincent le canneux) and Quebec-focused canning communities on platforms like Facebook where enthusiasts share their tested recipes and tips!